
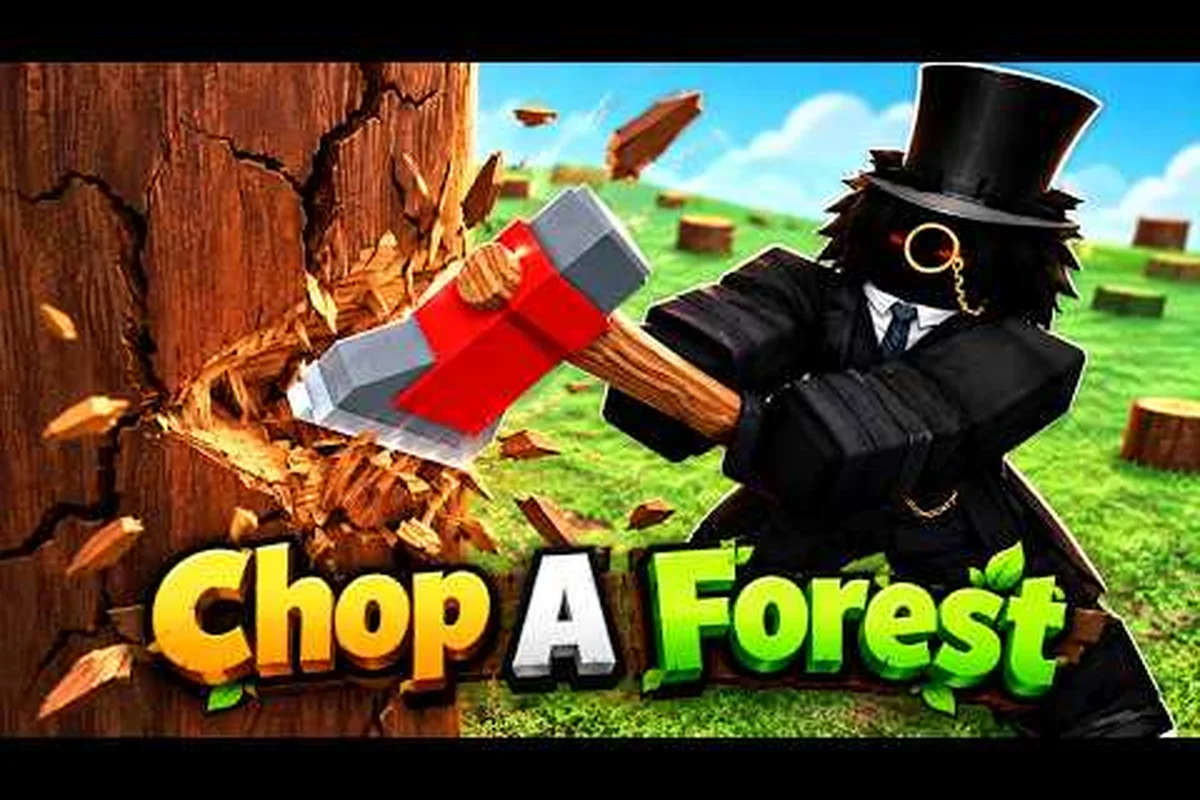
Chop A Forest looks like a one-button clicker on the surface, but the loop underneath the trees is surprisingly dense. A new player can be earning Coins, Gems, and zone-boss clears within an hour, while a returning player is juggling five upgrade trees, daily reward streaks, and mutated tree spawns. The difference between the two comes down to understanding the full set of mechanics the game layers on top of "punch tree, sell log, repeat."
This guide walks through Chop A Forest all mechanics explained from a blank spawn to a fully perk-stacked endgame build. Every system below — currency, attributes, tools, vehicles, daily Gems, mutated trees, bosses, classes — is described in the order you actually encounter it, with numbers pulled from the the game page at the Roblox store link and from community-reported testing as of October 2026. If you are brand new to the title, the Chop A Forest beginner guide covers the absolute basics; everything here assumes you already know how to pick up and sell a log.
Core Chop A Forest Loop: Punch, Pick Up, Sell, Repeat
The foundational Chop A Forest loop is a four-step cycle — punch trees to gather wood, pick up the dropped logs, sell them at the Lumber Mill NPC, and immediately route back to the next tree cluster — that powers your first session and never really goes away. Every other system you'll encounter, from the Bronze Axe and Chainsaw tool tiers to the Logging Truck vehicle and the Lumberjack perk tree, exists to compress one or more of those four steps: faster swing speed shortens step one, larger backpack capacity shortens step two, the Mill's bulk sell bonus shortens step three, and spawn boosters or the Teleport Pad shorten step four. In practice, even endgame players running max-level Woodcutter class builds still execute this same Pick Up → Sell core on every loop, just with the chop phase reduced to roughly two seconds per tree and the sell trip cut to a single keypress at an upgraded conveyor sell point.
How the Basic Loop Works
You spawn near the sawmill with empty hands. Walk up to any tree and start punching; each hit eventually drops the tree into a small pile of logs on the ground. Hold E to pick up to a few logs at a time (carry capacity grows with the Grasp attribute), then walk back to the sawmill and sell. The sawmill pays you in Coins based on the type and quantity of logs you turn in.
This loop is the only reliable way to bank your first 150 Coins, which is the price of the Axe — your first real upgrade and the first tool that meaningfully multiplies damage per swing. Community testing on the official page shows the Axe is the universal first purchase because it cuts trees in fewer hits, which directly shortens the trip back to the sawmill.
Why the Loop Scales Differently
Each tool you buy changes one variable in the loop: damage per swing, swing speed, or the area your swings cover. The Tab attribute screen lets you spend Coins on the constants the loop shares regardless of tool: Grasp (carry capacity), Walk Speed (how fast you can ferry logs back), Axe Speed (swing cadence for cutting tools), Damage (per-swing power), Sharpness (a damage multiplier that grows with usage), and Radius (how big your swing area is).
A common early mistake is dumping every Coin into Damage. Damage is valuable, but a player with higher Walk Speed and Grasp runs more loops per minute, which compounds faster than a small damage boost. The Chop A Forest all mechanics explained philosophy is to balance the loop's variables, not to max one stat in isolation.
| Loop Stat | What It Controls | Early-Game Priority | Source |
|---|---|---|---|
| Grasp | Carry capacity | High | Official page attribute list |
| Walk Speed | Log-ferry speed | High | Official page attribute list |
| Axe Speed | Swing cadence | Medium | Official page attribute list |
| Damage | Per-swing power | Medium | Official page attribute list |
| Sharpness | Multiplier that grows over time | Low (long-term) | Community-reported scaling |
| Radius | Swing area | Low until mid-game | Official page attribute list |
Currency, Tools, and the Shop Path
Once you have a few hundred Coins in the bank, the shop becomes the center of your progression. The Chop A Forest guide for beginners 2026 playbook is to follow a strict purchase order so you do not overspend on a flashy item that does not pay for itself.
Coin vs Gem Economy
Coins are the soft farm currency, earned primarily by selling logs. Gems are the premium currency, earned from daily login streaks, regular tree drops, mutated tree spawns, and the official group reward. Every tool, vehicle, perk, and class has both a Coin price and a Gem price; the Gem path is faster but is gated behind actions you cannot grind endlessly, so spend Gems deliberately.
The Tool Tier List in Order
The tool shop scales from cheap and weak to expensive and game-changing, and the trick is sequencing your purchases so per-hour earnings keep climbing instead of flatlining after a single big buy. Spending 150 Coins on the base Axe first unlocks a damage baseline that pays for itself in minutes, then layered upgrades like the Strong Axe, Chainsaw, Rocket Tool, and Dynamite compound that base rather than replacing it. Skip ahead to a Chainsaw at 10,000 Coins while still using the starter Axe on tougher trees, and your DPS curve stalls because the earlier tools' damage and reach haven't been paid off yet — buying in the correct tier order keeps the coin-per-minute curve steep.
| Tier | Tool | Approximate Effect | When to Buy |
|---|---|---|---|
| 1 | Axe | First real damage tool, pays for itself in minutes | First 150 Coins |
| 2 | Strong Axe / Lumber Axe variants | Higher damage, faster clears | Once base Axe feels slow |
| 3 | Chainsaw | Continuous cut, high DPS | When Gems or banked Coins allow |
| 4 | Rocket Tool | High damage, splash radius | Late early-game, before vehicles |
| 5 | Dynamite | Area burst, breaks the toughest normal trees | Mid-game, before boss clears |
The exact order can shift slightly as the developer rebalances prices in future patches, but the underlying tier shape stays consistent: linear damage upgrades (Axe, Strong Axe, Lumber Axe) first, then sustained-DPS and area tools (Chainsaw, Rocket Tool, Dynamite) next, then vehicles like the Tractor and perks layered on top. Skipping from a 150-Coin Axe straight to a 10,000-Coin Chainsaw before the Strong Axe at 750 Coins is paid off will flatten your coins-per-minute curve, because the Chainsaw's continuous-cut multiplier is wasted while tougher Trees in later biomes still demand the reach of a Strong Axe or Lumber Axe you never bought. The Rocket Tool and Dynamite tier exists precisely to break those transition trees and boss-locked stumps that gate the vehicle tier, so saving Gems past tier 4 to rush a Tractor usually backfires the same way.
Vehicles, Mounts, and Movement Gear
Vehicles exist to compress travel time between trees and the sawmill. They become relevant once the walking distance in your active zone is large enough that Walk Speed upgrades stop being the most efficient use of Coins. At that point, even a basic mount pays for itself because it directly multiplies how many loop cycles you finish per minute.
The Tab Upgrade Screen in Detail
The Tab menu is the single most important interface in the entire game, because it is where you decide whether your next 30 minutes will be efficient or wasted. Most beginners underuse it; most veterans reroute their spending through it several times per session.
How Attribute Scaling Feels
Each Tab attribute has a soft cap where returns start to diminish, and a hard cap the developer publishes only loosely through patch notes. Community data suggests the practical sweet spot for most solo players is the first 60–70% of any single attribute before swapping focus, because at that point another attribute is almost always worth more Coins per point spent.
| Attribute | Soft-Sweet-Spot Range | What You Feel at Soft Cap |
|---|---|---|
| Grasp | First 60% | Full sawmill trips without overflow |
| Walk Speed | First 50% | No longer the bottleneck of any loop |
| Axe Speed | First 70% | Swing cadence feels near-instant |
| Damage | First 60% | One-shot small trees, two-shot medium |
| Sharpness | First 40% | Multiplier noticeably faster than base |
| Radius | First 50% | Most trees fall within one swing arc |
If you want a structured walk-through of the very first session, the the full Chop A Forest beginner guide complements this section by mapping the attribute order onto the first 20 minutes of play.
Sharpness and Why It Is Special
Sharpness is the one attribute that grows in two ways: you spend Coins on it directly, and it climbs passively every time you use a tool. That double-scaling is why the Chop A Forest optimal play guide sections always tell players to swing more often instead of waiting for the perfect tree. Sharpness compounds: a player who keeps their axe moving for 30 minutes ends that window measurably stronger than one who pauses to plan, even with the same number of trees felled.
Daily Gems, Mutated Trees, and Jackpot Drops
Coin farming is the heart of the game, but Gem income is the bloodstream that unlocks the late-game layers. The Chop A Forest guide 2026 meta treats Gems as the limiting reagent: every minute spent earning them efficiently is a minute saved on the slow back half of the game.
Daily Login Streaks
Logging in every day awards a Gem payout that escalates for the first week of a streak before settling into a steady daily rate. Missing a day resets the streak on some patches and merely freezes it on others, so the safest habit is to log in daily even if you only play for five minutes. The Chop A Forest all mechanics explained approach is to treat the daily reward as non-negotiable and to let it fund your first vehicle or class.
Mutated Tree Spawns
Mutated trees are rare, color-shifted variants of normal trees that drop bonus Gems when felled. They are a meaningful share of a casual player's total Gem income, so learning to spot them visually is worth the effort. The community-accepted rule is that mutated trees appear at random across every zone, so the best counter is to keep moving and check every cluster you pass, rather than camping one spot and waiting.
Golden Logs and the Jackpot Drop
Golden logs are an even rarer drop tied to regular tree felling. They sell for a sharply higher Coin value than normal logs, and they are also one of the few sources of surprise Gem payouts. Community testing shows golden log spawns are random per session, so the player who logs more loops per hour will see them more often — yet another reason to keep the base loop efficient.
Zone Bosses, Classes, and the Endgame Layer
Once your loop is fast enough to clear a whole zone's worth of trees in a reasonable time, the next layer opens up. Zone bosses, perks, and classes all sit on top of the base loop rather than replacing it, which is why the Chop A Forest all mechanics explained framing always loops back to the punch-sell-upgrade cycle.
How Zone Bosses Unlock
Each of the five zones has a boss that spawns only after you chop the last normal tree in that zone. That means boss progression is gated on raw loop speed, not on a separate boss-fighting stat. The first time you clear a zone's trees, the boss appears in the cleared area; defeat it for a large Coin payout and, on first clear, a Gem bonus. Bosses are the cleanest signal that you have actually finished a zone and are ready to move on.
The Perk Tree and Class System
After your first boss clear, the perk tree opens. Perks are permanent or semi-permanent upgrades that modify the loop in ways attributes cannot — for example, Gem Value boosts the Gem payout from tree drops, mutated trees, and the group reward. Strong Hands increases Grasp efficiency, and several perks multiply Coin payouts at the sawmill.
Classes are paid in Gems and stack on top of perks. Each class has a passive that changes a specific part of the loop, and a tier-list breakdown of which class is best for solo versus co-op lives in the Chop A Forest class tier list guide. The short version: classes are an end-of-progression purchase, not a starting one.
The Group Reward and Endgame Routine
Joining the official Chop A Forest group grants a daily Gem reward that, on its own, is worth more than several mutated tree spawns. It is the single highest-leverage free action in the game and should be one of the first things every new player does after the first boss clear.
Frequently Asked Questions
What is the very first thing to buy in Chop A Forest?
The Axe is the first universal purchase because it converts the basic punch loop into a real damage tool and pays for itself within the first few trees. The first 150 Coins should never be spent on anything else, and the next 100 or so should go into the Grasp and Walk Speed attributes on the Tab screen so the loop runs faster.
How do mutated trees and golden logs actually work?
Mutated trees are color-shifted rare spawns that drop bonus Gems when felled, while golden logs are rare drops from normal trees that pay several times the standard Coin value at the sawmill. Both are random per session, so the best way to see them more often is to run more loops per hour by upgrading Grasp, Walk Speed, and your tool tier in that order.
What is the fastest way to reach the zone boss in each map?
Clear the entire zone's tree count as efficiently as possible: prioritize Grasp and Walk Speed so you can ferry logs in fewer trips, then stack Damage and Axe Speed so each tree falls in fewer swings. The boss spawns only when the last normal tree in the zone falls, so loop speed is the only real gating factor.
Should I buy a class or a perk first in Chop A Forest?
Buy perks first, because perks are cheaper and have an immediate, permanent effect on the base loop — especially Gem Value, which boosts almost every Gem source at once. Classes are best purchased once your perks are stable and your loop already runs well on its own, so the class passive compounds on top of a tuned setup.
How can I keep my progress between sessions?
Progress saves automatically in both solo and friend runs, so your Coins, tools, Tab attributes, perks, and class choice all carry over. Logging in daily to claim the streak reward and the group Gem payout is the only habit you need to keep your account moving forward without losing momentum.