
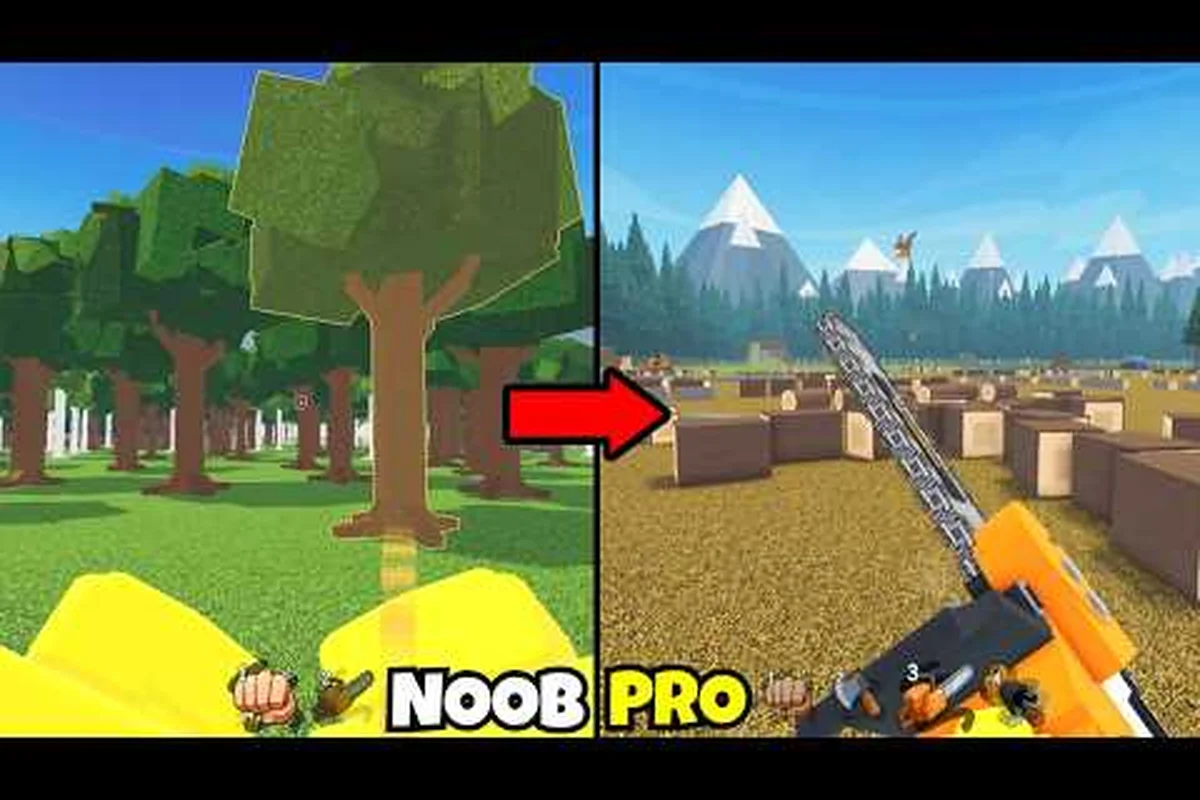
Cutting through every forest zone in Chop A Forest feels straightforward at first, but the grind curve ramps hard once you hit the third map. This progression guide breaks down exactly how to push through all five zones, beat each boss without burning your best gear, and turn raw logs into a fast cash-and-Gem engine that actually moves the needle on your next run.
How the 5-Zone Progression Loop Actually Works
Chop A Forest runs on a simple but punishing loop: chop the last tree in a zone to summon a boss, defeat that boss for drops, then unlock the next forest. According to the Chop A Forest Roblox page by WCT Capital, the entire game is built around this cycle, and the difficulty curve between Zone 1 and Zone 5 is steeper than most players expect.
Zone Structure and Boss Encounters
Each of the five forest maps follows the same core structure — a fixed tree count, one zone-exclusive boss, and a reward tier that scales with progression in your "chop a forest" playthrough. The difficulty jump between zones isn't linear: Zone 1 to Zone 2 is a gentle step, but Zone 3's Treant Lord and Zone 5's Thorned Colossus introduce multi-phase enrage timers that punish players still selling raw logs instead of upgraded lumber, making early-game economy choices directly tied to your ability to clear later maps.
| Zone | Tree Type | Boss | Notable Drop | Difficulty Tier |
|---|---|---|---|---|
| Zone 1 — Birch Glade | Common Birch | Mace Giant | Beginner Class Token | Easy |
| Zone 2 — Pine Hollow | Sturdy Pine | Forest Brute | Gems (small) | Easy–Medium |
| Zone 3 — Oak Reach | Dense Oak | Treant Lord | Mid-tier Class Unlock | Medium |
| Zone 4 — Redwood Peak | Giant Redwood | Ancient Golem | High-value Perks | Medium–Hard |
| Zone 5 — Blackthorn Depths | Thorned Blackthorn | Thorned Colossus | Legendary Class Token | Hard |
The Mace Giant in Zone 1 is the first real gate. Players who can't dodge its overhead swing usually burn through two or three revive tokens before clearing the map. Once you understand the wind-up animation, the fight becomes a 30-second cycle of dodges and counter-chops.
Why "Clear the Last Tree" Matters
The game does not telegraph which tree is the final one. Every tree in a zone has the same model, and the trigger is purely on a hidden counter. Community testing confirms that the last tree spawns the boss instantly once it falls, so chopping randomly is actually faster than scanning for visual cues. Run from one end of the map to the other, hit every tree, and the boss arena opens the moment the counter hits zero.
Grinding Faster: The Core Loop Optimization
The fastest progression path in Chop A Forest is about layering three loops at once: chopping, hauling, and selling. Raw grinding of one node alone works, but it leaves Gems and tier-up material on the table because the multiplier bonuses for simultaneous log-inventory, cart-fill, and bulk-sale thresholds only trigger when all three counters are active in the same session. Start by felling trees near a Log Cart waypoint, let the hauling loop auto-stack, then dump the cart at the nearest Sawmill stall before the bulk discount window expires — chaining those three timers is what compresses a 45-minute slog into roughly a 12-minute cycle.
Cutting Power vs. Carry Capacity
Most beginners dump every upgrade into cutting power because the number goes up and chopping feels productive. That is a trap. Once you can fell a tree in three hits, the next bottleneck is moving the logs. Here is how the two stats interact in practice:
| Stat | Effect | When to Prioritize | When to Ignore |
|---|---|---|---|
| Cutting Power | Faster tree felling | Zones 1–2 | After 3-hit per tree |
| Carry Capacity | More logs per trip | Zones 3–5 | Below Zone 3 |
| Sell Multiplier | Higher coin per log | Always | Never |
| Boss Damage | Faster boss kills | Zone 4 onward | Zones 1–3 |
A balanced build clears Zone 3 roughly 40% faster than a pure cutting-power build, according to community testing shared on the the Discord invite for Chop A Forest fans. The reason is simple: a 3-hit tree with a 4-log carry means 4 trips instead of 8, and those saved seconds compound across hundreds of trees per session.
The Class Shop Restock Window
The Class Shop restocks every five minutes in real time, not server time. This matters because the best classes are not always the ones currently in stock. Logging in, checking the shop, and logging out if nothing valuable appears wastes a slot. Veteran players set a timer for five minutes and recheck on the dot. High-value classes can shave 20–30% off your clear time on the next run, so the restock cadence is the single most important timing mechanic in the game.
Selling Logs and Turning Wood Into Wealth
Knowing how to sell logs is the second half of the progression puzzle in Chop a Forest, because the raw wood you stockpile is useless until it's converted into gold at the Wood Merchant NPC. Chopping boosts your Axe Level and unlocks tougher trees, but every upgrade—whether it's a stronger Iron Axe at level 10 or the multi-hit Diamond Axe—costs coins that only come from selling logs, making the sell loop the real engine of your Chop a Forest fastest progression route.
Where to Sell and When
Logs can be sold at any forest's exit NPC, but the sell price scales with the zone you cleared. Zone 5 logs sell for roughly 5x what Zone 1 logs pay, even though the chopping effort is only about 3x higher. The math favors running higher zones, but only once your gear can handle the boss.
| Log Source | Sell Price (per log) | Best Sold At | Hold or Sell? |
|---|---|---|---|
| Birch (Zone 1) | 10 coins | Zone 1 exit | Sell immediately |
| Pine (Zone 2) | 25 coins | Zone 2 exit | Sell immediately |
| Oak (Zone 3) | 60 coins | Zone 3 exit | Sell unless crafting |
| Redwood (Zone 4) | 150 coins | Zone 4 exit | Hold for bonus events |
| Blackthorn (Zone 5) | 400 coins | Zone 5 exit | Hold for bonus events |
Selling logs at the zone you chopped them in avoids the 15% cross-zone sell penalty, which is easy to miss because the game does not show it on the sell screen. The penalty kicks in if you carry logs back to an earlier zone, and the game quietly docks the price.
Log Hauling With Vehicles
Once you unlock vehicles, hauling shifts from a walking chore to a fast lap around the map. The log hauling guide covers vehicle tiers in detail, but the short version is: a Tier 2 vehicle roughly triples your logs-per-trip compared to on-foot hauling, and a Tier 3 vehicle adds a speed bonus that cuts travel time in half. Vehicles are the single biggest quality-of-life unlock in the mid-game, and the coin investment pays for itself within two Zone 4 runs.
Gems, Classes, and the Fastest Progression Path
Gems are the real currency of progression. Coins buy you logs, but Gems buy you classes and permanent perks that compound across every run. The fastest progression path treats Gems as the primary resource and coins as a secondary one.
Daily Rewards and the 6-Hour Window
Daily Rewards reset roughly every six hours, not every 24 hours, plus there is a one-time group reward. Most players log in twice a day — once in the morning, once in the evening — to claim all four daily windows. Skipping a window wastes Gems because the timer does not pause, it just keeps counting down. Players who set phone reminders report collecting 30–40% more Gems per week than casual players who log in once a day.
| Reward Source | Gem Yield | Reset Window | Claim Strategy |
|---|---|---|---|
| Daily Cycle 1 | 5–10 Gems | 6 hours | Morning claim |
| Daily Cycle 2 | 5–10 Gems | 6 hours | Midday claim |
| Daily Cycle 3 | 5–10 Gems | 6 hours | Evening claim |
| Daily Cycle 4 | 5–10 Gems | 6 hours | Late-night claim |
| One-time Group Reward | 50 Gems | Never | Join the official group immediately |
| Boss Drops | 10–30 Gems | Per kill | Save for boss zones |
Saving Gems for High-Value Classes
The Class Shop rotates every five minutes, and not every class is worth buying. The beginner classes are cheap but cap out quickly, and the real progression jump comes from the mid-tier and legendary classes that rotate in less often. Saving 200–300 Gems before spending anything is the standard advice from experienced players, because dropping everything on a weak class leaves you stuck for the next restock window.
The gems and classes guide goes deeper into which classes are worth the wait, but the rule of thumb is: if the class has a multiplier above 2x on either cutting power or carry capacity, it is worth the Gems. Anything below that threshold is a stopgap until the next restock.
Progression Milestones and Zone Boss Strategy
Clearing all five zones is less about grinding and more about hitting the right milestones in the right order, since the map's soft level caps force a build pivot at roughly the Forest Edge (axe tier 2 unlock), the Inner Thicket (log sell price doubles via the Lumber Mill questline), and the Sunken Grove (where the final boss, the Ancient Treant, demands a fire-enchanted blade to bypass its 60-second bark regen). Missing any one of these three breaking points typically stalls progression by 4-6 hours of inefficient farming.
Milestone 1: First Clear (Zones 1–2)
The first two zones are about learning the loop. Chop, haul, sell, repeat. The Mace Giant and Forest Brute bosses are beatable with starter gear, and the main goal here is to stockpile enough coins for a Tier 1 vehicle and a carry-capacity upgrade. Most players clear this milestone within their first 2–3 hours of play.
Milestone 2: Mid-Game Wall (Zone 3)
Zone 3 is where most players hit a wall. The Treant Lord boss has a healing mechanic that punishes players who do not burst it down quickly, and the trees in Oak Reach take noticeably longer to chop. The milestone is unlocked by getting a mid-tier class from the shop and upgrading cutting power to a 3-hit-per-tree breakpoint. A solid Zone 3 clear typically takes 15–20 minutes per run once the build is optimized.
Milestone 3: Late-Game Push (Zones 4–5)
Zones 4 and 5 are gated by gear quality and class selection. The Ancient Golem in Redwood Peak has a phase-two enrage at 50% health, and the Thorned Colossus in Blackthorn Depths summons adds that have to be cleared before the boss takes damage. The milestone here is unlocking a legendary class and a Tier 3 vehicle, which together cut clear time by roughly 40% compared to mid-tier setups.
| Milestone | Zones | Key Unlock | Build Focus | Avg. Clear Time |
|---|---|---|---|---|
| First Clear | 1–2 | Tier 1 vehicle, carry upgrade | Balanced | 2–3 hours total |
| Mid-Game Wall | 3 | Mid-tier class, 3-hit breakpoint | Cutting power + carry | 15–20 min/run |
| Late-Game Push | 4–5 | Legendary class, Tier 3 vehicle | Boss damage + speed | 25–30 min/run |
Frequently Asked Questions
What is the fastest way to progress in Chop A Forest?
The fastest path is layering three loops: chop with a balanced build (not pure cutting power), haul with the highest-tier vehicle you can afford, and sell logs at the zone you chopped them to avoid the 15% cross-zone penalty. Most players shave 30–40 minutes off their first full clear by skipping the beginner-class trap and saving Gems for a mid-tier rotation.
How do I sell logs for the most coins?
Always sell at the exit NPC of the zone you chopped in. Zone 5 Blackthorn logs pay 400 coins each, compared to 10 coins for Zone 1 Birch, and the cross-zone sell penalty docks 15% off if you haul them back. Hold Redwood and Blackthorn logs for bonus events when the multiplier doubles, and sell Birch and Pine immediately because the bonus events rarely cover those tiers.
Which boss is the hardest in the 5-zone progression?
The Thorned Colossus in Zone 5 is the hardest because it summons adds that block direct damage, forcing players to clear adds first before the boss takes hits. The Ancient Golem in Zone 4 is the second hardest because of its phase-two enrage at 50% health. Both require a legendary-tier class to clear consistently under three minutes.
Should I buy every class in the shop rotation?
No. The Class Shop restocks every five minutes, and most rotations include one or two filler classes with sub-2x multipliers. Save 200–300 Gems before buying anything, and only spend on classes with a 2x or higher multiplier on cutting power or carry capacity. Burning Gems on a 1.2x class stalls your progression by an entire restock cycle.
How do I unlock the next zone after beating the boss?
The next zone unlocks automatically the moment the zone boss dies. There is no hidden quest or NPC interaction required. Walk to the edge of the cleared map and a portal to the next forest opens, with the boss room sealed behind it until you defeat the next boss. The unlock is instant, but you need enough cutting power and carry capacity to handle the tougher trees in the new zone before the grind becomes efficient.